
CloudGofer’s Email2LeadPro Installation Guide
Following are the steps to Install Email2LeadPro App in your Sales Force Environment.
Visit AppExchange
Log in into your Sales Force / Developer Account
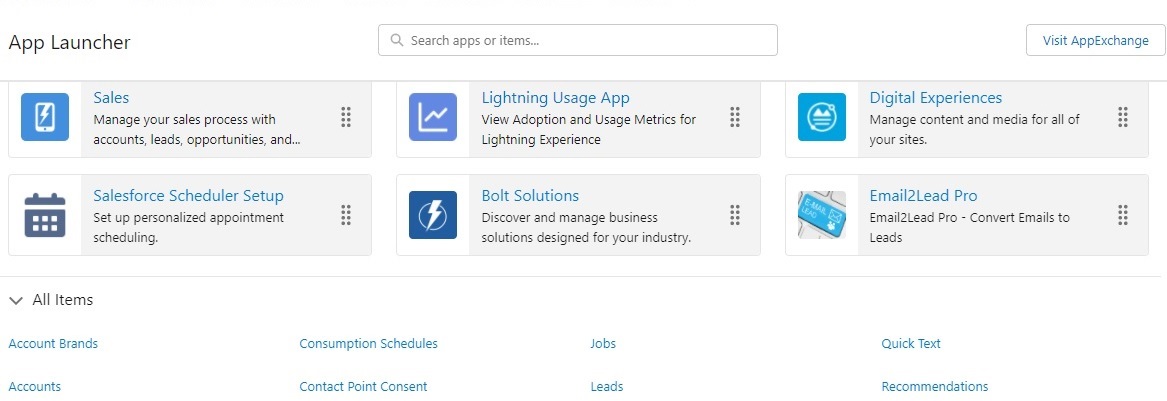
Click on “App Launcher” Icon
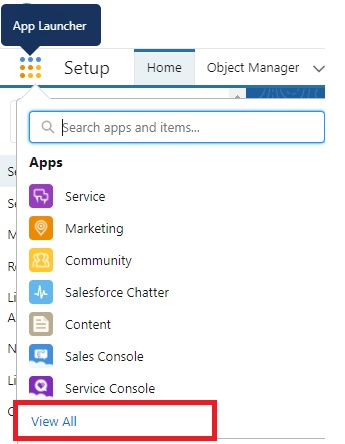
Select View All
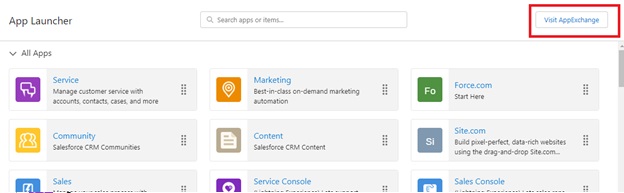
Click on “Visit AppExchange” Button
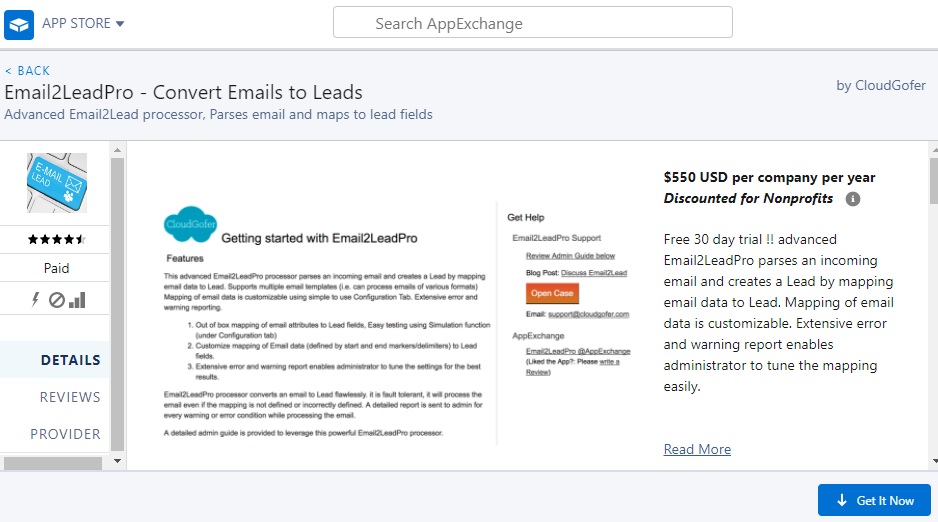
Search for ‘Email2LeadPro’ App and click on the ‘Email2LeadPro’ Square Box

Pre Installation Steps
Select “Get it Now”
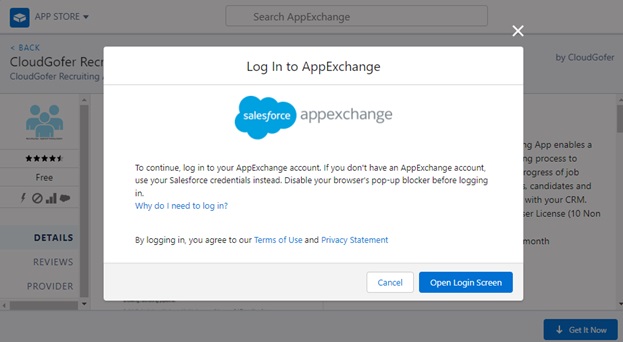
You need to log in to AppExchange to Install CloudGofer’s Email2LeadPro App
You can use your Sales Force log in to do so.
After you click on “Open Login Screen” button You will see the window as shown below.
If not then make sure to disable any “Pop up blocker”
You will get the window as shown below.
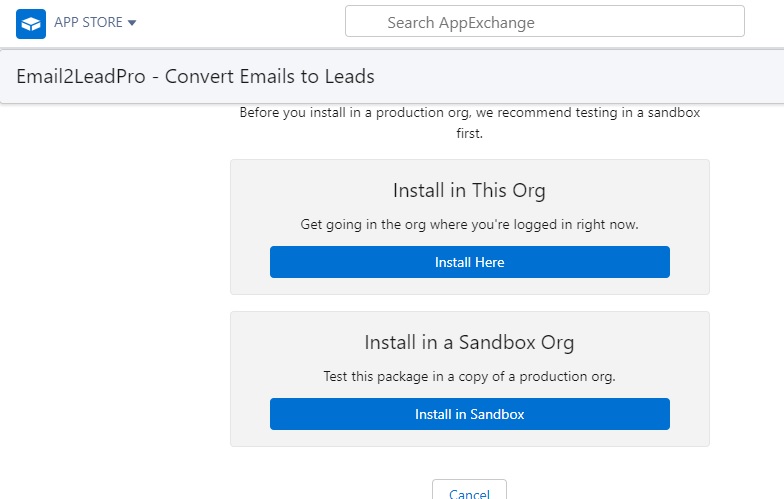
Click the button to Install the CloudGofer’s Email2LeadPro App in appropriate location.
You will get following screen
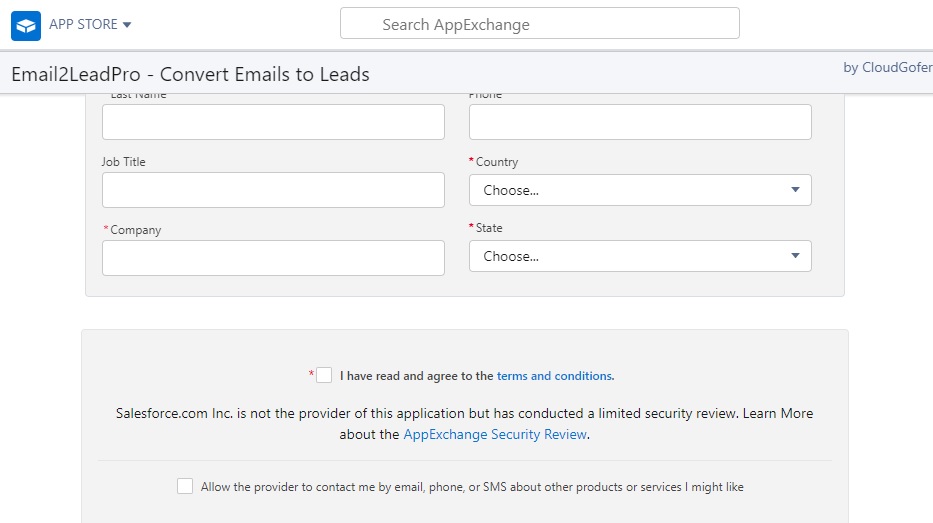
Start Installation
Fill up the required information , accept the “Terms and Conditions” and click on “Confirm and Install” Button
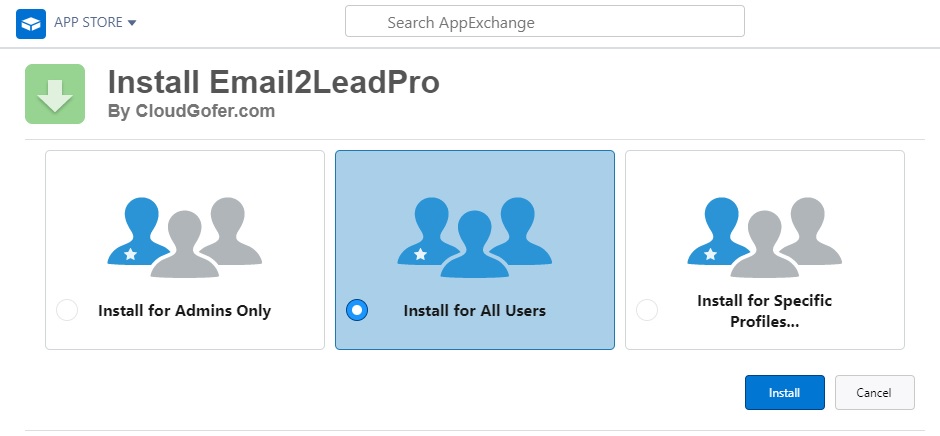
Select “Install for All Users” and click on “Install” Button.
Depending on the Internet speed, installation might take longer time. You will get following screen once installation is complete.
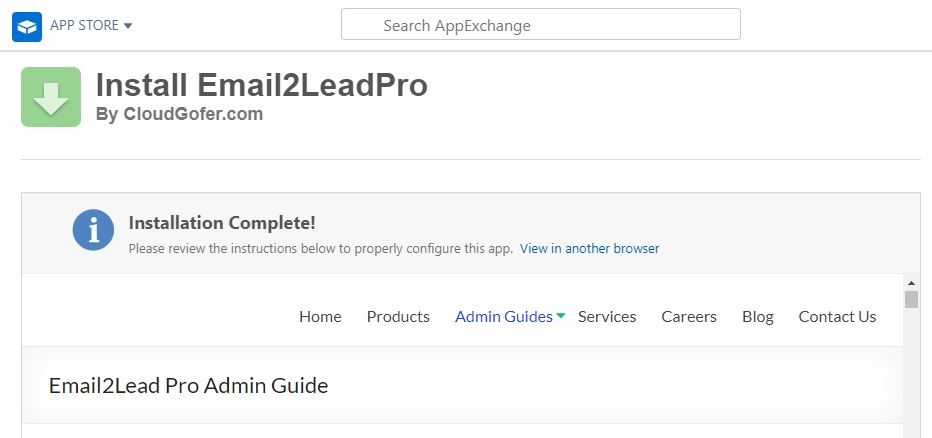
Click on “Done” button and close the App Store Window.
Now Go to App Launcher – Click on View All
Your installed Email2LeadPro App will be at the bottom
Drag it on the Top and close the App Launcher Window so that it will be easily accessible while configuring the App to make it Production ready.
Now that you have installed the CloudGofer Email2LeadPro Application, let us understand how to configure this application to make it production ready.
App Configuration
Refer Email2LeadPro Admin Guide to to configure this Application